A vinyl decal can look sharp for years or start lifting at the corners within days. The difference is usually not the decal itself. It is the surface preparation, the temperature and the fitting method. Knowing how to apply vinyl decals properly helps you get a clean, professional result on vehicles, windows, walls, boards and equipment.
Most small decals are straightforward to fit, but do not rush the preparation. A few minutes spent cleaning, positioning and checking the surface will save time replacing a poorly applied graphic.
Start with the right surface and conditions
Vinyl needs a smooth, clean and dry surface to bond correctly. Painted metal, glass, smooth plastic and finished sign panels are generally suitable. Rough brickwork, heavily textured walls, flaky paint and porous timber are less reliable because the adhesive cannot make consistent contact with the surface.
Choose a dry, sheltered area where possible. Cold weather makes vinyl less flexible and slows the adhesive bond, while excessive heat can make it harder to control. For most applications, a mild temperature is best. Avoid fitting outdoors in rain, high winds or direct strong sunlight.
If you are applying lettering or decals to a vehicle, make sure the panel is cool to the touch. A van or car that has been standing in sunlight may look ready to fit, but a hot panel can lead to premature adhesion before you have positioned the graphic accurately.
Tools for applying vinyl decals
You do not need a large toolkit, but using the correct items makes fitting easier and reduces the chance of bubbles or creases. Keep the following to hand:
- A clean, lint-free cloth
- Isopropyl alcohol or a suitable surface cleaner
- Masking tape
- A plastic squeegee or applicator with a soft edge
- A tape measure or ruler
- A craft knife or scissors, if trimming is needed
Avoid household glass cleaners that leave a polish, wax or silicone residue. These products can interfere with the adhesive, especially on windows and painted vehicle panels. Clean the surface first, then wipe it with isopropyl alcohol and allow it to dry fully.
How to apply vinyl decals using the dry method
The dry method is the standard approach for most small and medium vinyl decals, particularly cut vinyl lettering supplied with application tape. It gives good control and allows the adhesive to form a firm bond straight away.
Check the position before removing the backing
Hold the decal in place and stand back to check its height, spacing and alignment. On a vehicle, use body lines, handles or panel edges as visual references, but do not assume they are perfectly level. Measure from a fixed point where accuracy matters, such as a door edge or window frame.
Once you are happy with the position, use short pieces of masking tape to create a horizontal hinge along the top edge. This keeps the decal in place while you work and helps prevent it shifting during application.
For long runs of lettering, such as a company name on a shop window or van door, mark a light guide line with masking tape first. This is quicker than trying to correct uneven lettering after it has touched the surface.
Prepare the decal and expose the adhesive
With the decal held in place by the top hinge, lift the lower edge and carefully peel away the backing paper. Pull the backing back on itself at a low angle rather than pulling it away quickly. This helps keep individual letters and small details attached to the application tape.
If part of the vinyl stays on the backing paper, lay it back down and press that area firmly with the squeegee before trying again. Do not force it. Fine text, dots and narrow shapes need a little more patience.
Apply from the centre outwards
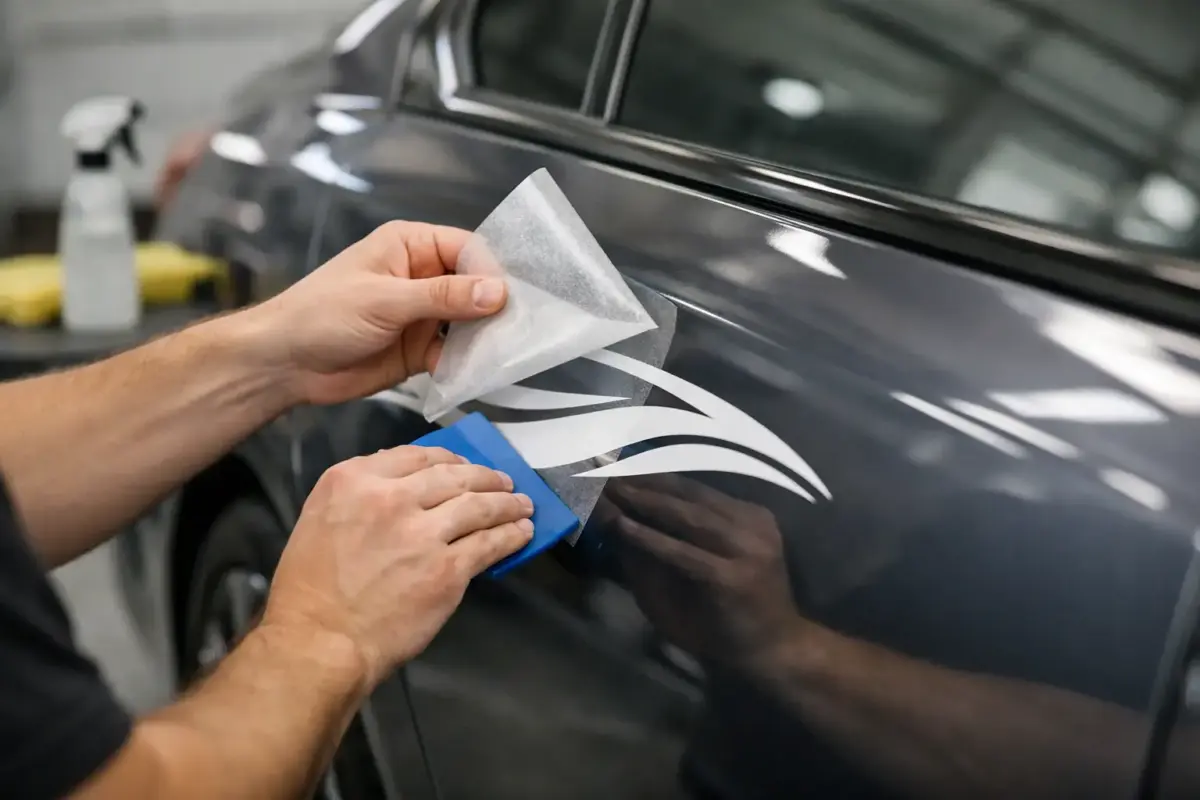
Hold the exposed decal away from the surface with one hand. Starting at the centre below the tape hinge, use the squeegee to press the vinyl down in overlapping strokes. Work outward towards each side rather than pushing across the full width in one movement.
Use firm, even pressure. The aim is to make contact gradually and drive any trapped air towards the edges. If you lower the whole decal onto the surface at once, it is far more likely to trap bubbles or crease.
When the vinyl is fully applied, go over the complete design again with the squeegee. Pay particular attention to letter edges, corners and narrow sections.
Remove the application tape slowly
Leave the decal in place for a minute, then peel back the application tape at a sharp angle, close to the surface. Do not pull it upwards. Keep the tape folded back and move slowly, checking that every part of the decal remains in place.
If a letter starts to lift, stop immediately. Lay the tape back down, squeegee that area again and continue more slowly. Once the tape is removed, press around the edges of the decal with a clean cloth or the squeegee to finish the bond.
When a wet application method is suitable
A wet method can be useful for larger decals on smooth glass, acrylic or flat painted panels. It gives you more time to slide the decal into position before the adhesive takes hold. It is not suitable for every product, however, and should not be used where the fitting instructions specify dry application.
It is also less suitable for small individual lettering, intricate cut designs and decals with very narrow details. Water can remain behind fine sections of vinyl and delay adhesion. For these products, the dry method is normally more reliable.
If your decal is suitable for wet fitting, lightly mist the cleaned surface with application fluid or clean water mixed with a very small amount of mild washing-up liquid. Do not soak the surface. Place the decal, position it carefully, then squeegee firmly from the centre outward to remove all fluid. Work slowly and make several passes.
The application tape should only be removed when the decal has begun to bond. This can take longer in cool or damp conditions. Allow extra drying time before exposing the decal to rain, washing or regular use.
Fitting vinyl decals to common surfaces
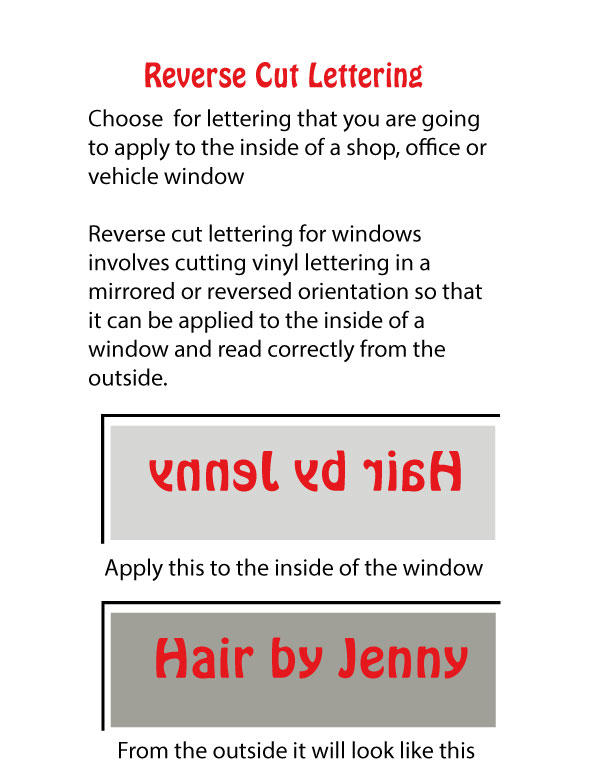
Glass is one of the easiest surfaces for vinyl because it is smooth and non-porous. Clean both sides if fitting to an internal window, as dirt on the reverse can make it difficult to judge the final appearance. Check whether the decal is intended for inside or outside application before fitting, particularly if the design needs to be readable from the street.
For vehicles, remove traffic film, polish, wax and road dirt thoroughly. Pay close attention to door handles, recesses and panel seams, where residues often collect. Apply decals only to sound paintwork. Vinyl may adhere to loose paint, but it can pull that paint away if the decal is later removed.
On painted walls, allow fresh paint to cure fully before fitting. The waiting time depends on the paint type and conditions, so follow the paint manufacturer’s advice. Even a wall that feels dry can still release moisture or gases that weaken the adhesive bond.
For rigid signs, clean the face before fitting and place the panel on a flat, stable work surface. This is particularly helpful with larger graphics, as it prevents the material flexing while you squeegee.
Avoid bubbles, lifting and crooked lettering
Small bubbles can often be pressed to the nearest edge with a squeegee or soft cloth. For a stubborn pin-sized bubble, leave it for a short time first. Some may settle as the adhesive bonds. If it remains, a very fine pinprick at the bubble edge can release the air, followed by gentle pressure. Use this sparingly, as unnecessary punctures can affect the finish.
Corners lifting is usually caused by contamination, a textured surface or insufficient pressure during fitting. Cleanliness matters more than force. If a surface has been treated with wax, polish or silicone spray, clean it again before applying another decal.
Crooked decals are harder to correct once the adhesive has gripped. Measure first, use masking tape guides and check from a distance before peeling the backing. For business branding, fleet markings or shopfront lettering where presentation matters, taking time to set out the design is well worth it.
Aftercare that protects the finish
Once fitted, leave the decal alone long enough for the adhesive to settle. Dry-applied decals generally benefit from at least 24 hours before washing. Wet-applied decals may need longer, particularly in cool British weather.
When cleaning a vehicle or window, use a mild detergent and avoid directing a pressure washer closely at decal edges. If using a pressure washer, keep the nozzle at a sensible distance and spray across the graphic rather than directly into its edges. This reduces the risk of lifting over time.
A well-prepared surface and a controlled fitting method give vinyl the best chance of lasting as intended. If the job involves large graphics, difficult surfaces or detailed branding that must be accurately positioned, it is sensible to ask for fitting guidance before starting. The SignBuilder can help customers choose a decal format that suits the surface and the intended use.