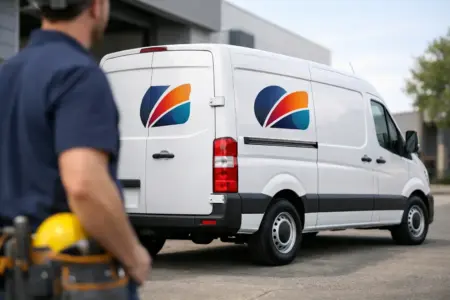
A logo sticker can do more than carry a name. Applied to a van, toolbox, shop window, product box or event display, it gives your business a consistent, recognisable presence wherever work takes place. Knowing how to create logo stickers starts with the job the sticker needs to do, not just the logo file you have available.
For a local trade business, a set of hard-wearing stickers on vehicles and equipment can make a professional impression between jobs. For a retailer or hospitality venue, smaller labels may add branding to packaging, takeaway bags or stock. The right choice depends on where the sticker will be used, how long it needs to last and how clearly it must be seen.
Start with the use, surface and viewing distance
Before choosing a size or finish, decide where your logo stickers will be applied. An outdoor sticker on a vehicle door has different requirements from a label on an indoor product box. Weather, cleaning products, friction and sunlight all affect the material and adhesive you need.
Smooth, clean surfaces such as glass, painted metal, plastic panels and sealed boards generally give the best results. Textured walls, rough timber, dusty equipment and heavily curved surfaces can be more difficult. If the surface is uneven or the application is high-risk, it is worth checking the intended use before ordering a large quantity.
Viewing distance matters just as much. A logo on a vehicle or site board needs to be readable from several metres away, so small details and fine text may disappear. A sticker for a counter display can hold more information because customers will view it closely. Think about the practical reading distance first, then size the artwork to suit it.
How to create logo stickers from usable artwork
The fastest route is to start with the best version of your logo. A vector file is usually preferred because it can be scaled without becoming blurred. Common vector formats include PDF, EPS, AI and SVG. A high-resolution PNG may also be suitable for printed stickers if it is supplied at the final required size and has a transparent background where needed.
Avoid taking a screenshot from a website, social media profile or emailed document. These files often look acceptable on screen but may print soft, pixelated or with rough edges. A small image stretched to fit a larger sticker will not gain detail during printing.
Keep the design clear. Your logo should remain the main feature, with enough empty space around it to prevent the artwork looking cramped. If you want to add a phone number, website address, social media handle or short service message, make sure it supports the logo rather than competing with it.
Fine lines, tiny lettering and pale colours on a light background can be difficult to read, particularly on smaller stickers. Where visibility is essential, use a simple layout with strong contrast. Black, dark blue or deep green lettering on white is often highly legible, while white lettering works well on a solid dark background. Your brand colours still matter, but readability comes first when the sticker is intended to be seen quickly.
Check the details before print
Proofread every line of text, including telephone numbers, web addresses and postcode details. Confirm that your logo version is current and that any required legal wording, registration marks or service descriptions are included. Reprinting a batch because of one incorrect digit is an avoidable cost.
It is also sensible to consider a small print margin. Artwork placed too close to the edge can look unbalanced and may be affected by trimming tolerances. A border can be part of the design, but it should be wide enough to look deliberate.
Choose the right sticker shape and size
Standard shapes work well for many business applications. Rectangular stickers suit contact details, equipment identification and packaging labels. Square stickers are useful for compact logos and social media-style branding. Circular stickers create a clean badge effect for jars, boxes, event materials and point-of-sale displays.
Custom-shaped stickers are useful when the outline of your logo is distinctive. A shaped sticker can feel more considered than a standard rectangle, especially for promotional use, but it may not be the most cost-effective choice for every job. If the design includes a detailed outline, simplify it where possible so the finished shape remains practical to cut and apply.
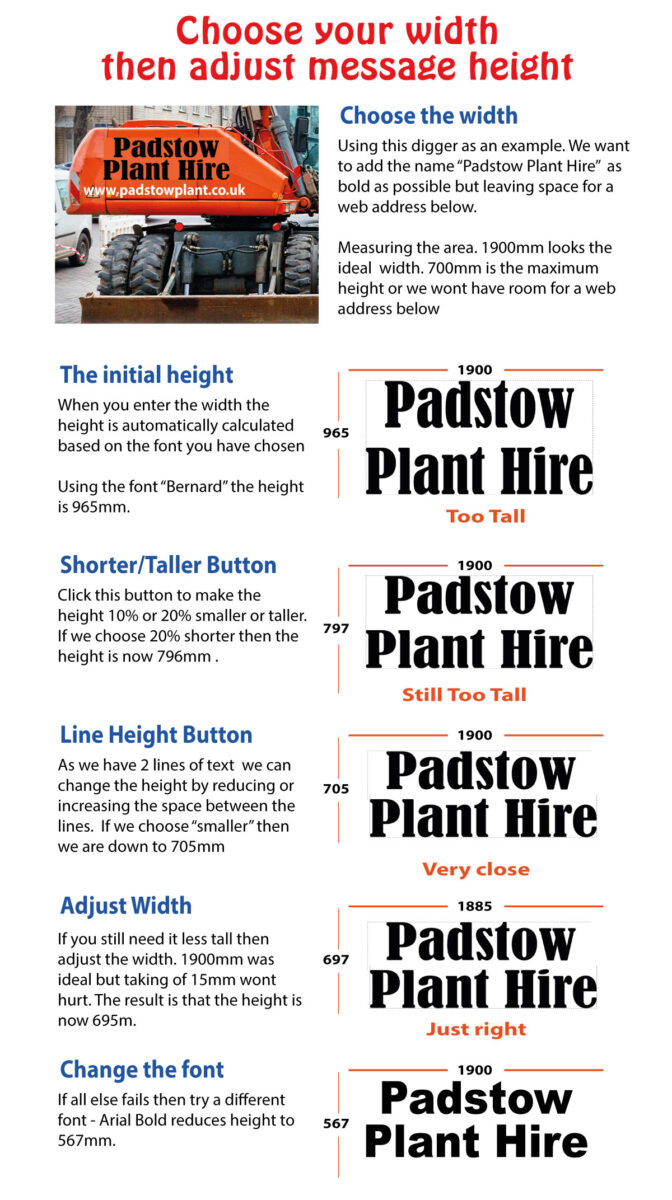
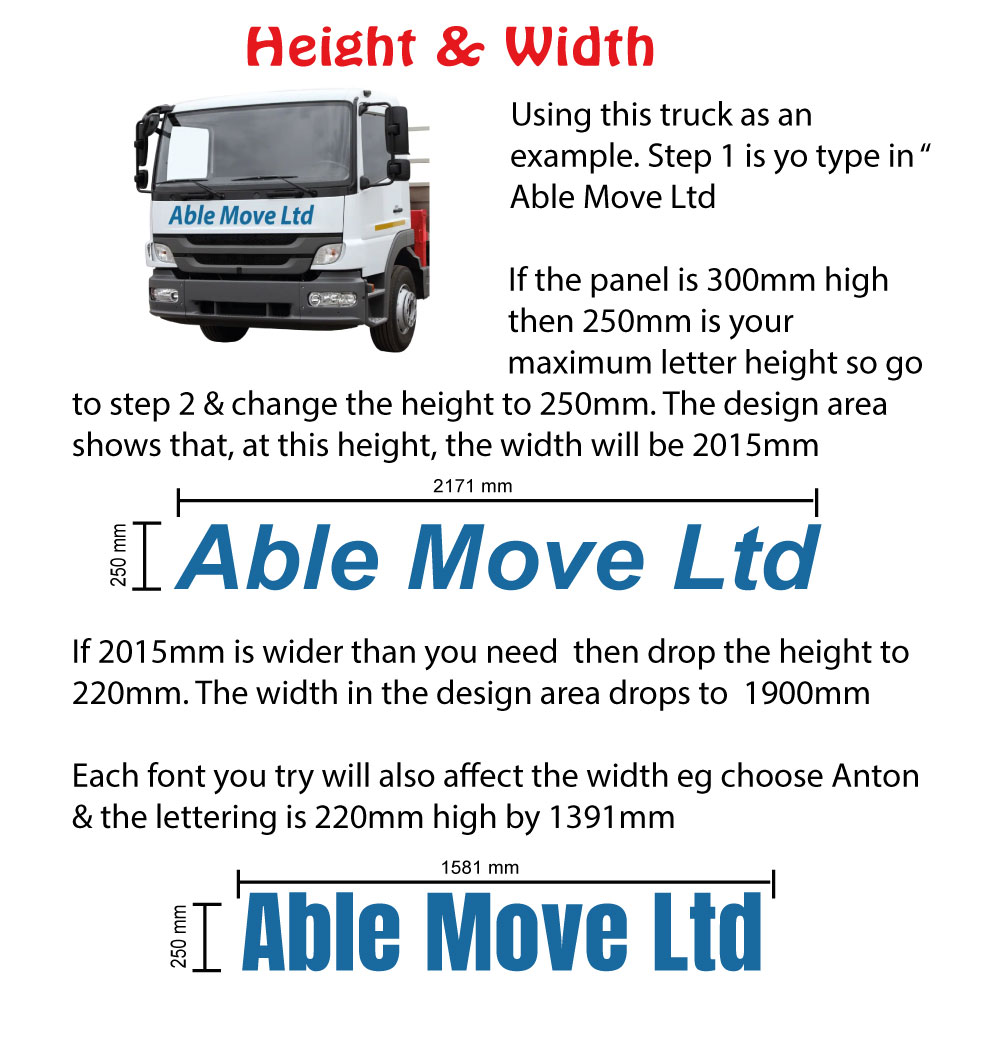
Size should be based on the intended location, not a guess. Measure the available panel on the vehicle, tool case, counter, window or packaging. Leave room around handles, hinges, seams, vents and existing safety information. On vehicles, check that the sticker will not obscure lights, registration plates, mandatory markings or the driver’s view.
When ordering several sizes, keep the proportions consistent. For example, a larger logo sticker for a van and a smaller version for equipment can use the same artwork at different dimensions. This helps build a joined-up identity across your working environment.
Select a material and finish for the conditions
Sticker material should match its working environment. Indoor promotional labels may only need a clean printed finish, while outdoor branding needs a more durable option that can cope with rain, UV exposure and regular cleaning. Vehicle stickers, window graphics and equipment labels should be selected with longevity in mind.
A gloss finish can make colours appear more vivid and is often chosen for promotional branding. A matt finish reduces glare and can be easier to read under bright lighting. Neither is automatically better. Gloss may suit a bold retail design, while matt can be more practical for service labels, machinery markings or stickers viewed outdoors.
Think about the background too. White stickers provide a solid base for coloured logos. Clear stickers can be effective on glass or pale surfaces, but pale elements in your logo may become difficult to see once applied. If the sticker will sit on a dark or variable background, a white base is usually the safer choice.
For products that will face frequent handling, cleaning or outdoor exposure, do not choose solely on initial price. A cheaper sticker that lifts, fades or becomes unreadable quickly can cost more in replacement time and damage the professional appearance you are trying to create.
Prepare surfaces and apply stickers properly
Even a well-produced sticker can fail if it is applied to a dirty or unsuitable surface. Clean the application area thoroughly, removing dust, grease, polish and moisture. Allow it to dry fully before applying the sticker. For vehicle panels and tools, avoid applying immediately after washing if water may still be trapped around edges or seams.
Positioning is easier when you mark the intended area first with low-tack tape or use a measuring guide. Stand back before committing to the final placement. A sticker that is level on a workbench can look crooked once it is on a vehicle panel or shopfront window.
Apply the sticker gradually rather than pressing down one edge and hoping for the best. Start from one side, smooth across the surface and push out air as you go. Take extra care around curved areas, recesses and panel joins. Once applied, press the edges firmly to help the adhesive make full contact.
Temperature can affect application. Very cold, damp or excessively hot conditions are not ideal for adhesive products. Where possible, apply stickers in a clean, dry area at a moderate temperature, then allow the adhesive time to settle before heavy use or washing.
Order quantities that suit the job
Logo stickers are often most useful when ordered as part of a wider practical plan. A tradesperson may need matching stickers for a van, toolboxes and customer paperwork. A venue may need one size for windows, another for takeaway packaging and a smaller version for promotional items. Planning these uses together helps keep colours, wording and logo treatment consistent.
Do not assume that the largest quantity is always the best value if your artwork or contact details may change soon. If you are testing a new logo, service line or campaign message, a smaller first run can be sensible. For established branding used repeatedly across sites, vehicles or stock, ordering a larger quantity may reduce the cost per sticker and make reordering simpler.
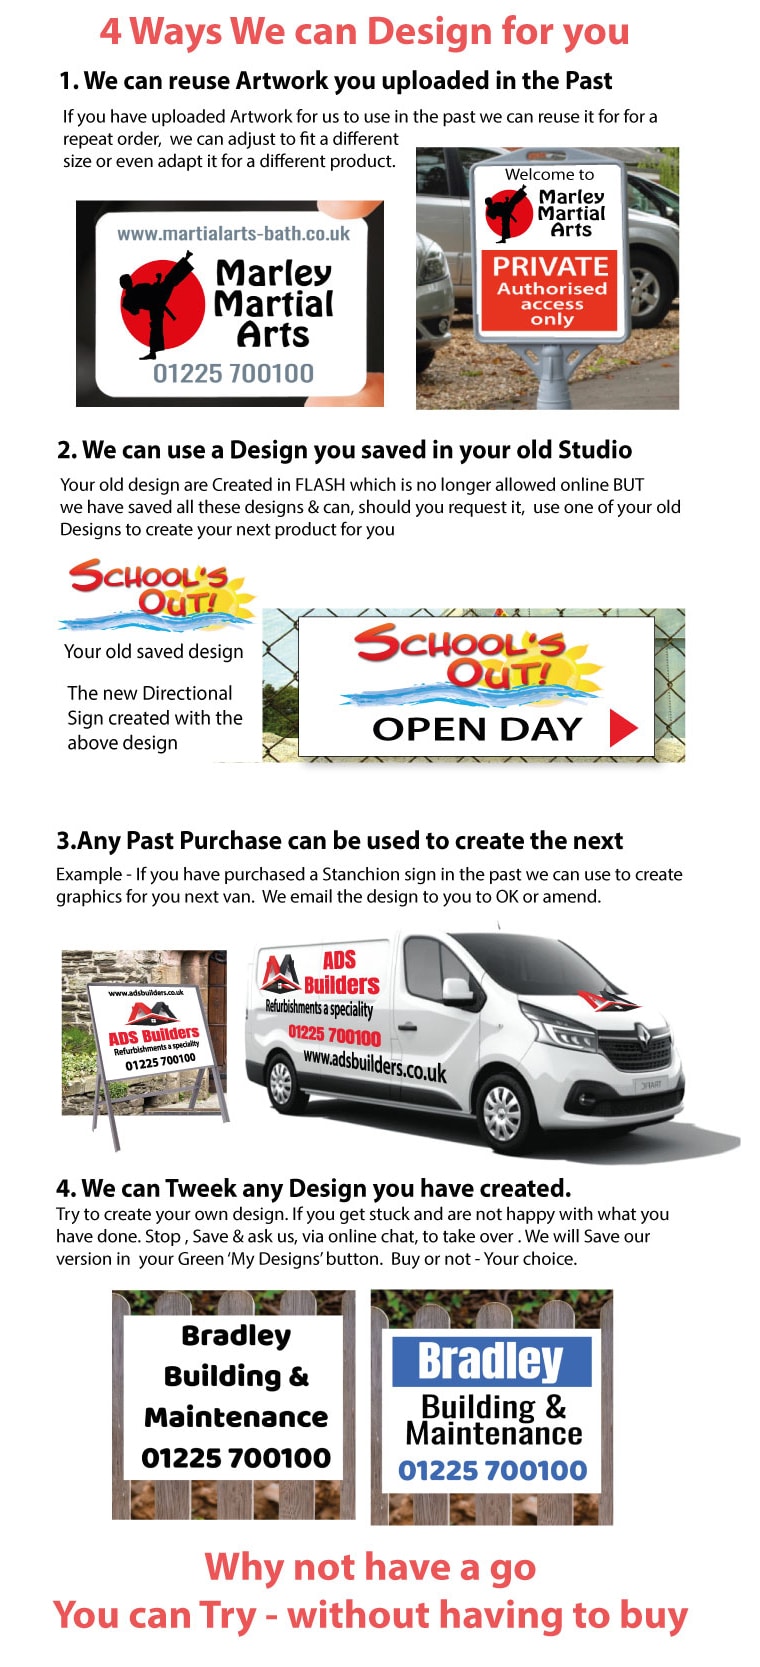
If you have print-ready files, uploading your own design is usually the most direct route. If the artwork needs adjusting, a clear brief with your logo, required wording, dimensions and intended use will help the production team prepare the right product. Include any colour references you use across signs, garments and vehicle graphics so your branding remains consistent.
A logo sticker earns its place when it is clear, durable and correctly sized for the job. Start with a good artwork file, choose materials for the real conditions, and apply each sticker to a clean, suitable surface. The result is straightforward branding that keeps working long after it has been fitted.