A uniform order can go wrong before production even starts. A logo may be too small to read, a heavy layer may be unsuitable for an active job, or half the team may need a size that was never included in the order. Knowing how to order branded uniforms properly helps you avoid these delays and gives your staff clothing they can wear with confidence.
For trades, retail teams, hospitality venues, site staff and local organisations, branded clothing does more than display a name. It helps customers identify the right person, gives staff a more consistent appearance and keeps your business visible while people are working. The best order is not always the cheapest garment or the biggest logo. It is the combination that works for the job, the season and the people wearing it.
How to Order Branded Uniforms Without Guesswork
Start with the working environment rather than the design. A receptionist, a kitchen team member and a landscaper may all represent the same business, but they need very different clothing. Think about movement, heat, weather exposure, washing frequency and whether staff need to layer garments throughout the day.
A basic uniform range might include printed T-shirts, polos, hoodies, sweatshirts, jackets, hi-visibility clothing and work trousers. You do not need to put every employee in every item. Many businesses create a core set, such as polos for daily use and sweatshirts for colder conditions, then add role-specific pieces where required.
This approach keeps the order practical and makes future re-orders simpler. It also prevents you from spending on garments that look suitable on screen but are unlikely to be worn on the job.
Choose garments for the job, not just the look
Fabric weight and garment fit matter. Lighter clothing can be useful for indoor work, busy kitchens or summer events, while heavier sweatshirts and outer layers are better suited to early starts, outdoor work and colder sites. If employees are physically active, choose garments that allow comfortable movement rather than a close-fitting style that restricts them.
Colour should support both your brand and the working environment. Darker colours can be more forgiving where dirt, dust or paint are part of the day. Brighter colours may improve visibility and help customers quickly identify staff on a busy shop floor, event site or hospitality venue. White can look sharp for customer-facing teams, but it may require more frequent replacement in practical roles.
Where visibility clothing is needed, confirm the required garment type for the task before ordering. Branded workwear can support a professional appearance, but it should not be treated as a substitute for the correct safety equipment or site requirements.
Set a Clear Uniform Specification
Before choosing sizes or uploading artwork, write down exactly what each role needs. This does not need to be a formal procurement document. A simple order plan gives you something clear to check against and reduces mistakes when several people are involved.
Include the garment type, colour, logo position, quantity and intended wearer or department. For example, your plan may specify navy polos with a left chest logo for office and sales staff, plus black hoodies with a larger back print for installation teams. If names, job titles or individual numbers are required, record the spelling carefully alongside each size.
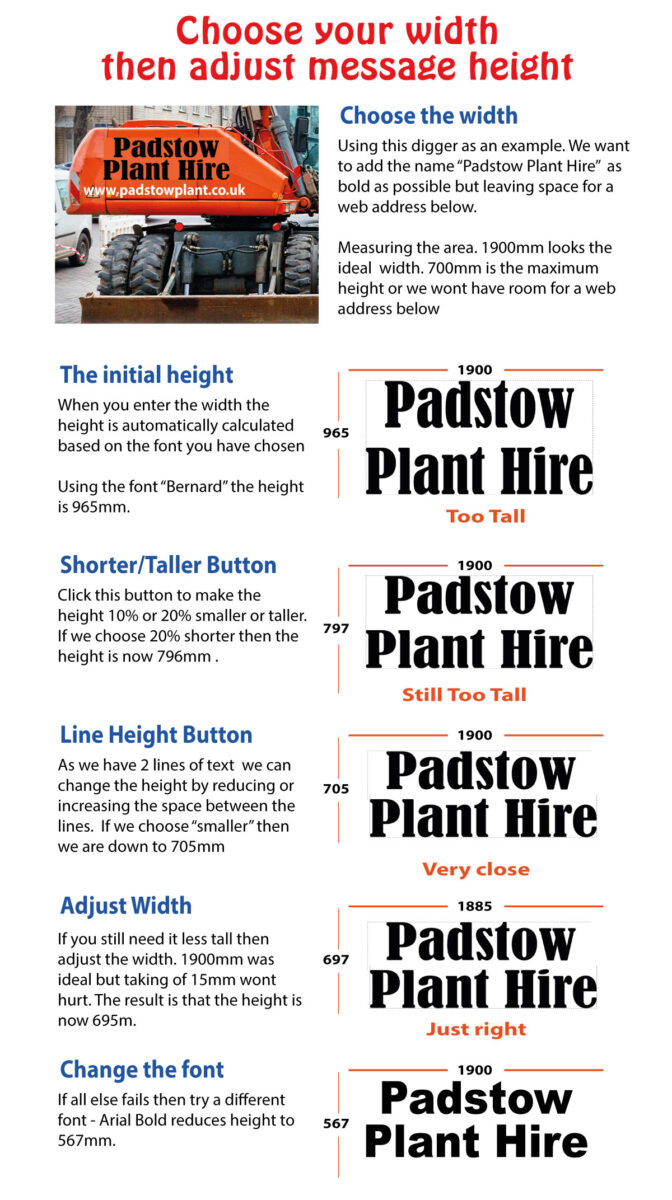
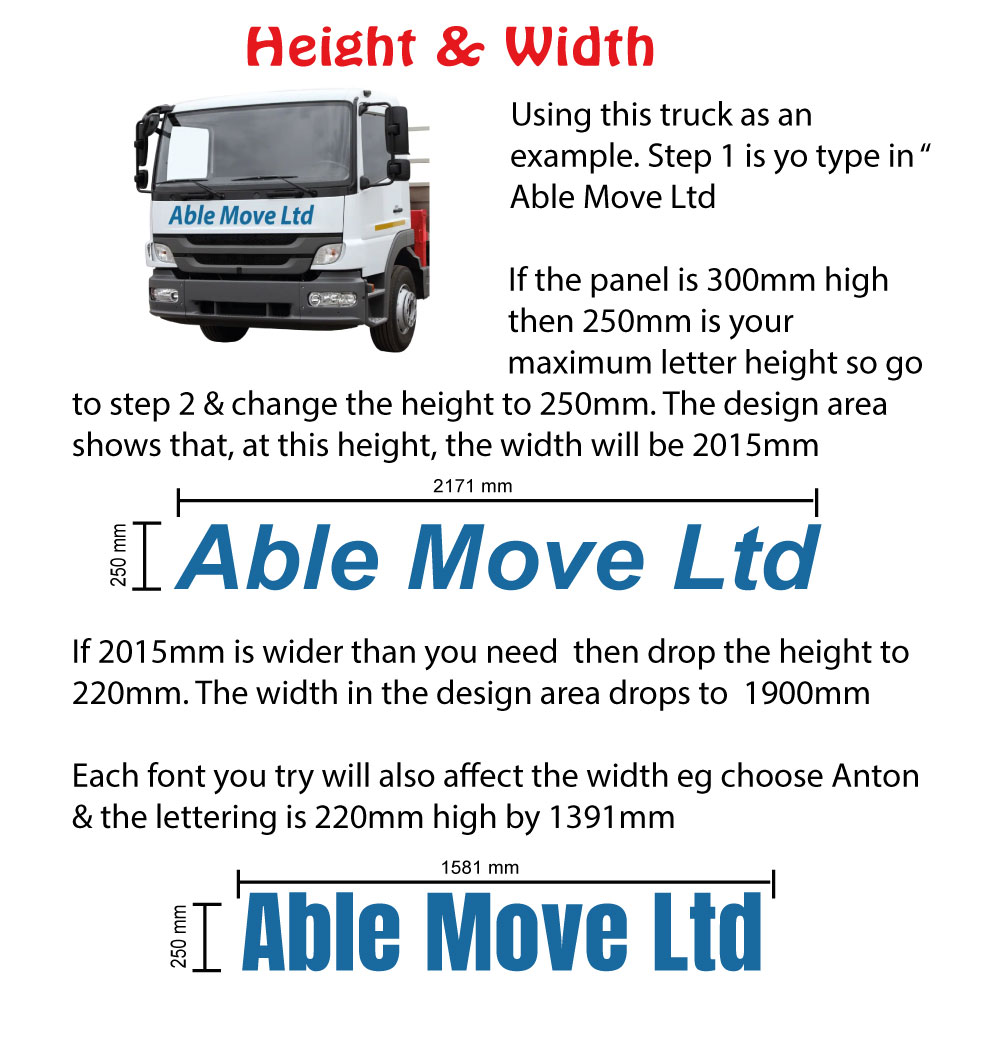
Consistency is particularly useful when your business also uses vehicle graphics, signs, banners or printed promotional products. Matching the same core colours and logo treatment across these items helps customers recognise your business quickly. It does not mean every item must look identical. A large banner can carry more detail than a small chest print, so adapt the artwork to the available space.
Decide where the branding should go
The left chest is a common choice because it is visible in conversation and works well for many business logos. A back print can be useful for mobile teams, event staff and tradespeople who spend time facing away from customers. Sleeve branding can add another detail, but the available print area is smaller, so it suits simpler text or compact marks.
More print positions can make garments more noticeable, but they also add cost and may not improve the result. If you are working to a set budget, a clear chest logo on a good-quality garment will often make a stronger impression than several small, crowded prints.
Keep text readable. A telephone number or long list of services may be useful on a van or roadside sign, but it can become too small on clothing. Use the uniform to establish who your team represents, then let your other branded materials carry the detail.
Prepare Artwork That Prints Clearly
Your logo should be supplied in the best format you have available. Clean vector artwork is generally preferred for logos because it can be sized without losing sharp edges. High-resolution PDF, EPS, AI or SVG files are often suitable. A clear, high-resolution PNG may also work for some designs, especially where it has a transparent background.
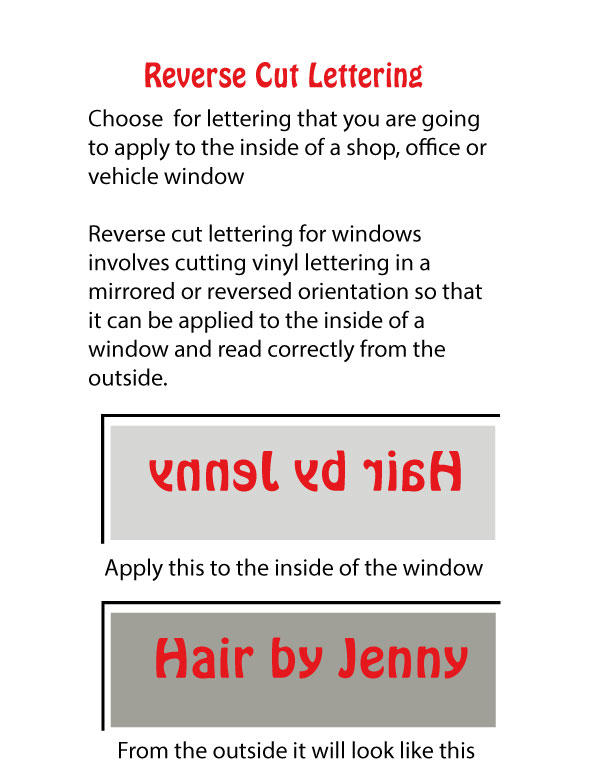
Avoid screenshots, photos of existing clothing and small images copied from social media. These can look acceptable on a phone but may become soft, jagged or unclear once printed at garment size. If your logo includes fine lines, small lettering or colour effects, it may need adjusting to ensure it remains legible.
Check that your artwork uses the correct version of your logo. It is common for businesses to have older files in circulation, particularly after a change of address, phone number or branding. Take a moment to compare the file with your current signage, website and vehicle graphics before approving the order.
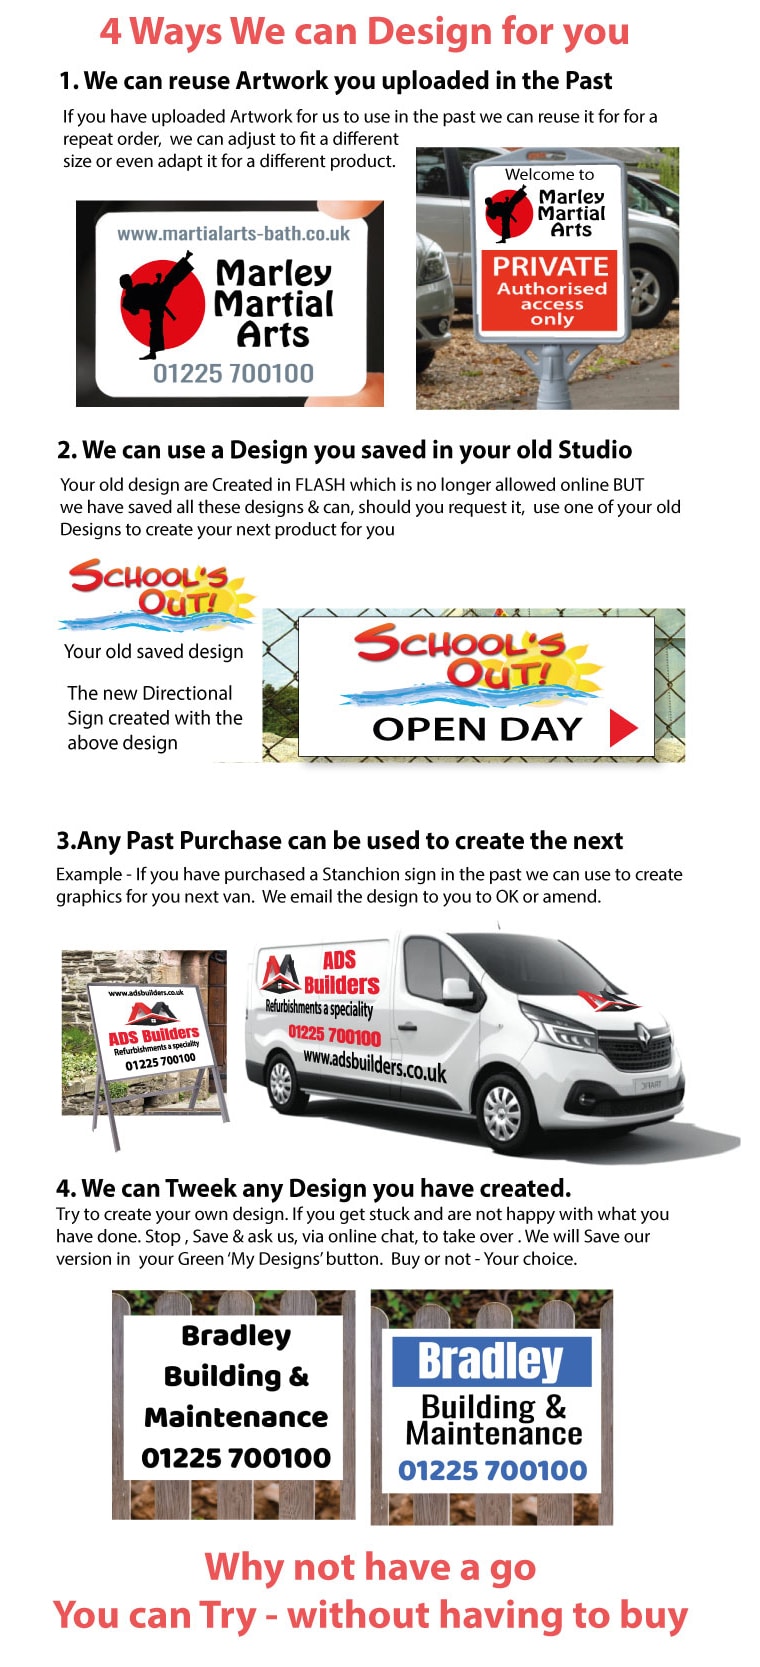
If you do not have suitable artwork, it is better to ask for help than to force a poor file through the process. The SignBuilder can support different ordering routes depending on what you have ready: Design Online for straightforward layouts, Upload your own Design for prepared artwork, or Let us design for you when you need assistance preparing the job.
Get Sizes and Quantities Right First Time
Sizing is one of the biggest causes of avoidable uniform problems. Do not assume that a medium in one garment will fit the same as a medium in another style. Ask staff for their preferred sizes and use the relevant garment size guide where available. If the order is large or the fit is especially important, ordering samples first can be worthwhile.
Build in a small allowance for new starters, replacement garments and seasonal layers. The right amount depends on your staffing pattern. A stable office team may only need a few spare items, while a growing trade business or busy event operation may benefit from a more flexible stock level.
Order quantities also affect value. A larger run can reduce the unit cost, but only if the garments will genuinely be used. It is usually better to order sensible core quantities and retain a clear specification for later re-orders than to fill a cupboard with outdated sizes or unsuitable styles.
Check every personalisation detail
Where garments include individual names, roles or numbers, ask one person to check the full list before production. A quick proofread is cheaper than replacing an incorrectly named item. Pay close attention to apostrophes, double-barrelled surnames, capital letters and job titles that may have similar spellings.
This is also the time to confirm whether staff need different branding by department. A front-of-house team may need a customer-facing role printed below the logo, while warehouse or site teams may only need the main business branding.
Review the Proof Before You Approve
A proof is your opportunity to check the layout, wording, garment colour and print positions before the order moves into production. Review it as if you were a customer seeing the uniform from a few metres away. Is the logo large enough? Does the text have enough contrast against the garment? Is every item and quantity included?
Do not only check the artwork itself. Compare the proof to your original order plan. Make sure a logo intended for the left chest has not been placed centrally, that the correct garment colours are shown and that any individual details match your approved list.
If something is unclear, ask before approving. Production teams work from the confirmed information, so a specific question at this stage is far more useful than an assumption after the garments have been produced.
Make Re-Ordering Easy for the Next Starter
Once you have a uniform combination that works, keep a record of it. Save the approved artwork, garment style, colour, print positions and usual sizes. Include the date of the order and any notes about fit or staff feedback. This gives whoever places the next order a reliable starting point.
A repeatable uniform specification is especially valuable when staff join at different times or when you run several locations. It keeps your presentation consistent without making every new order a fresh design exercise.
Good branded uniforms should earn their place in the working week. Choose clothing your team can work in comfortably, keep the branding clear and approve the details carefully. The result is a practical uniform that represents your business every time someone opens the door, arrives on site or meets a customer.